Day 7
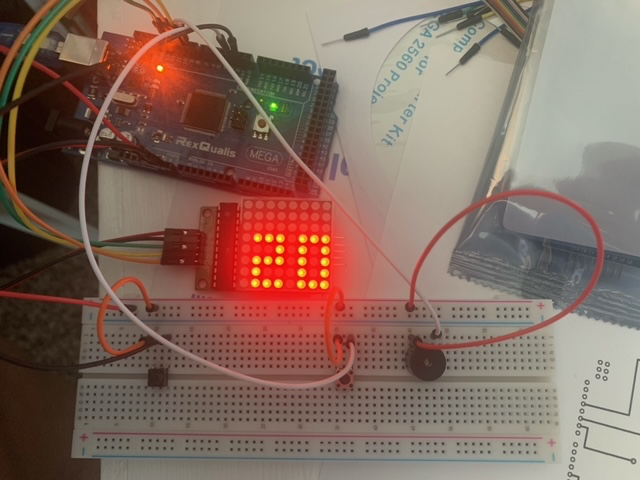
I have been in attending the Prototyping with Custom PCBs and Microcontrollers A-Term from home in distance learning. I spent most of the day today practicing soldering and building my prototype. My project is an 8x8 LED Arduino asteroids game. This is a simple game using the MAX72XX LED-Matrix as a display, two micro switches as buttons, and an active buzzer for a sound effect. Here is a picture of the breadboard and Arduino:
The next step was to prototype it using a shield and soldering the wires in place. This would allow me to create a portable game that does not require a breadboard. I spent most of the day soldering, which proved to be very frustrating and difficult. I carefully used the iron to put a small amount of solder on the tip of the stripped wire. Then, I heated the spot where I wanted to attach the wire with the soldering iron. Next, I place the tip of the wire to the board with the soldering iron on top, and carefully melted solder onto the tip of the iron. It was an arduous process. By the time I got the hang of soldering it was already the end of the day.
While I was struggling with the soldering iron, the students in class at school worked on making their PCB traces.

They first printed out their PCB Layouts and made sure to line them up with the drill holes on their copper plates. They did this to ensure that their etches would come out correctly.


They then used the solder to fix some of the copper linings that were disordered from their PCBs being dipped in the acid.

Comments
Post a Comment